British Sandwich Week: How to make a sourdough starter and what to do with it
Becoming a star baker is now on everyone’s agenda. Here bread experts explain how to kick things off, and how to make a loaf with it

Sign up to IndyEat's free newsletter for weekly recipes, foodie features and cookbook releases
Get our food and drink newsletter for free
To begin with it is quite a lengthy procedure (6 or 7 days), but once you have a stable starter, you can make bread every day. The key to success is patience and belief. Don’t give up.
If it takes 3 days to show signs of fermentation, that’s OK.
To make a sourdough starter that can successfully leaven dough, you need to promote the growth of natural yeast.
Natural yeast is abundant all around us, and is especially abundant in flour. Our starter at The Snapery was initially mixed with Ukrainian hop flowers that had been rolled in a rye paste and dried.
My good friend Olia Hercules brought these back from the Ukraine. The purpose of adding these was to kick-start fermentation.
Many people believe that adding raisins or fruit peel can also speed up the process and add character. After years of baking, I now know that the only catalyst you need is time. And flour and water are all you need to encourage the growth of natural yeast and lactic bacteria.
Day 1
In a jar, mix 100g (3½oz) warm water with 50g (1¾oz) quality strong white flour and 50g (1¾oz) wholemeal flour. Cover with a wet tea towel and leave in a warm place for 48 hours. After 48 hours, look for signs of fermentation. There should be a few bubbles on the surface. It might not have any smell at this point, but if it smells vaguely alcoholic then you’re on to a winner.
It will probably look quite grey, but will be fresh underneath. If there is no sign of any activation, do not worry. Put the jar in a slightly warmer place and leave for a further 24 hours and then continue from “day 3”.
Day 3
If you have the beginning of fermentation, great news! You’re only a few days away from some exceptional bread. Discard half of the starter and add another 100g (3½oz) warm water with 50g (1¾oz) white flour and 50g (1¾oz) wholemeal flour. Cover and leave in a warm place for another 24 hours.
Day 4
Repeat the process in “day 3”. At this point, there should be more obvious signs of fermentation: small bubbles, visual growth in size and a slight tang on the nose.
Day 5
Repeat the discarding and replenishing as in “day 3”.
Day 6
You should have something that’s almost ready to use in a bread recipe. The colour should be similar to the colour it was when you mixed it. There should be a lot of bubbles, quite an alcoholic smell and it should have grown to almost twice its original size. Repeat the discarding and feeding in “day 3” one more time.
After this, it should be ready to use in your bread recipe.
Looking after your starter
The most important thing to remember when maintaining a starter is routine and temperature. This is not an inert object, this is not something you can store in a cupboard and forget about until next you need it. This is a living thing, and like all living things it needs to be treated as such. It needs regular feeding to survive, it needs warmth when required, and if it’s feeling lazy, it needs encouragement to give it some get up and go. Ideally, you should feed your starter every day, maybe twice a day during the summer.
Every starter has a slightly different routine and you’ll get to know what suits yours over time. It’s hard to give specific advice as everyone’s house has a different ambient temperature. Just look, smell and taste, and learn what is best. Try to mix the starter so it is 22°C (72ºF) and feed at regular intervals.
If you decide that every day is too much commitment, you can choose to store your starter in the fridge for up to a week before feeding. I would recommend feeding for 2 days at room temperature before adding to a dough to get it back on track as it’s likely to be sluggish after sleeping for so long.
To feed the sourdough starter
Measure out 1 tablespoon of your sourdough starter and discard the rest. To the tablespoon of starter, add equal parts water and flour. Use 40g (1½oz) water and 20g (¾oz) strong white flour and 20g (¾oz) wholemeal flour.
The longer you leave the starter to ferment, the more acidic it will become. We use ours after 3-4 hours. Using it at this stage will produce a mildly sour loaf. It’s really down to taste. If you like it more sour, 5 or 6 hours (and using slightly colder water) would work better. After you have used your starter to make the leaven for your dough, you will have roughly 1 tablespoon left.
If you used the starter at an acidic stage (6-10 hours), you can feed it again immediately to keep it going for future loaves. If it was used at a mild stage, cover the starter and leave for a couple of hours before feeding. As mentioned above, if kept in the fridge, the starter can keep for a week and then be revived at room temperature (feed before using), but I’d be cautious about leaving it for longer than that. Regular feeding is the key to a healthy starter.
Extracted from ‘Bread & Butter’ by Richard Snapes, Grant Harrington & Eve Hemingway (Quadrille)
San Francisco white sourdough recipe
Like the beer scene, the bread scene in San Francisco has evolved rapidly in recent years. The teachings of Tartine and others in the original new wave of bakeries have spread rapidly, and the popularity of sourdough and the reputation of bread styles from the city have grown hugely. This has led to a general heightening of the bread standard worldwide, which is good.
And although it has been a couple of years since I’ve been in San Francisco, even then you could see those who were taking advantage of its reputation to flog poorly made white loaves. It cheapened the whole movement – especially if your bad loaf was hollowed out and filled with even worse clam chowder.
It is therefore hard to define “San Francisco sourdough” – but I’ll try. The classic breads have similar properties: they’re made with refined and very strong white American and Canadian flours.
The starters are refreshed without quite the same regularity or volume of those across the Atlantic, and as a result, they’re more acidic. This acidity is then accentuated with a long and cool prove. This results in a well fermented bread with a rich golden crust. The tang is very apparent.
The crumb is soft and custardy, and it has the characteristic irregular and large bubbles. It’s what people think of when they think “sourdough”. And here’s how to make a loaf.
For 1 large loaf:
425g very strong white flour, plus extra for dusting
150g white sourdough starter, 18-30 hours following its last feed
300g tepid water
10g table salt
semolina, for dusting
In a large bowl, weigh your flour, starter and tepid water. Mix these together with a dough hook or wooden spoon and let them sit for 30-60 minutes – otherwise known as the autolyse. Following this, add your salt (don’t forget!) and hand knead for about 5 minutes, or until it feels smooth and supple in your hands.
I’d use the slap and fold method, as this gives the dough some strength. Alternatively, you could mix in a stand mixer at low-medium speed (speed 2 usually) for about 5 minutes.
Cover your bowl with a plate or tea towel and let it sit in a relatively warm place – near a heater is fine. You want to leave it for 4 hours or so.
During this time, I’d give it at least two or three stretches and folds to imbue strength. Once your dough is suitably airy and maintaining its shape between folds, scrape your dough out onto an unfloured work surface.
Use a scraper to pre-shape the loaf by driving your scraper underneath to tighten it. Bench rest for 30 minutes.
If your loaf has spread out significantly (into a flat, pancake-like mound), it’s not going to survive the long, retarded prove I’m recommending. In this case, pre-shape it again, or shape once using flour and then shape again following a 30-minute bench rest.
When ready, dust your proving basket with plenty of white flour. Then shape the loaf as you prefer – I like my San Francisco sourdoughs to be round because that’s what I’ve always made, but they can be any shape or size you want. Stick the loaf in its proving basket and then place inside a plastic bag to keep it hydrated.
Rest for 1 hour at warm room temperature – about 25C, if you can. Then, stick the loaf in the fridge, covered with a plastic bag, and leave it for 12-18 hours, or until you can’t wait any longer. Don’t go longer than 24 hours or so if you want the loaf to maintain any sort of shape. If you are looking for even more tang than this loaf provides, use an older or less well fed starter, or retard the first prove.
About 30 minutes before you plan to bake, turn your oven on, or even slightly earlier if you’re using a baking stone. Preheat it to at least 250C/230C fan/Gas 9. If you’re baking in a pot or Dutch oven, you can preheat this, too. I think it gives a slightly better rise and flavour; some like to use cold pots and this certainly reduces your chances of getting burnt.
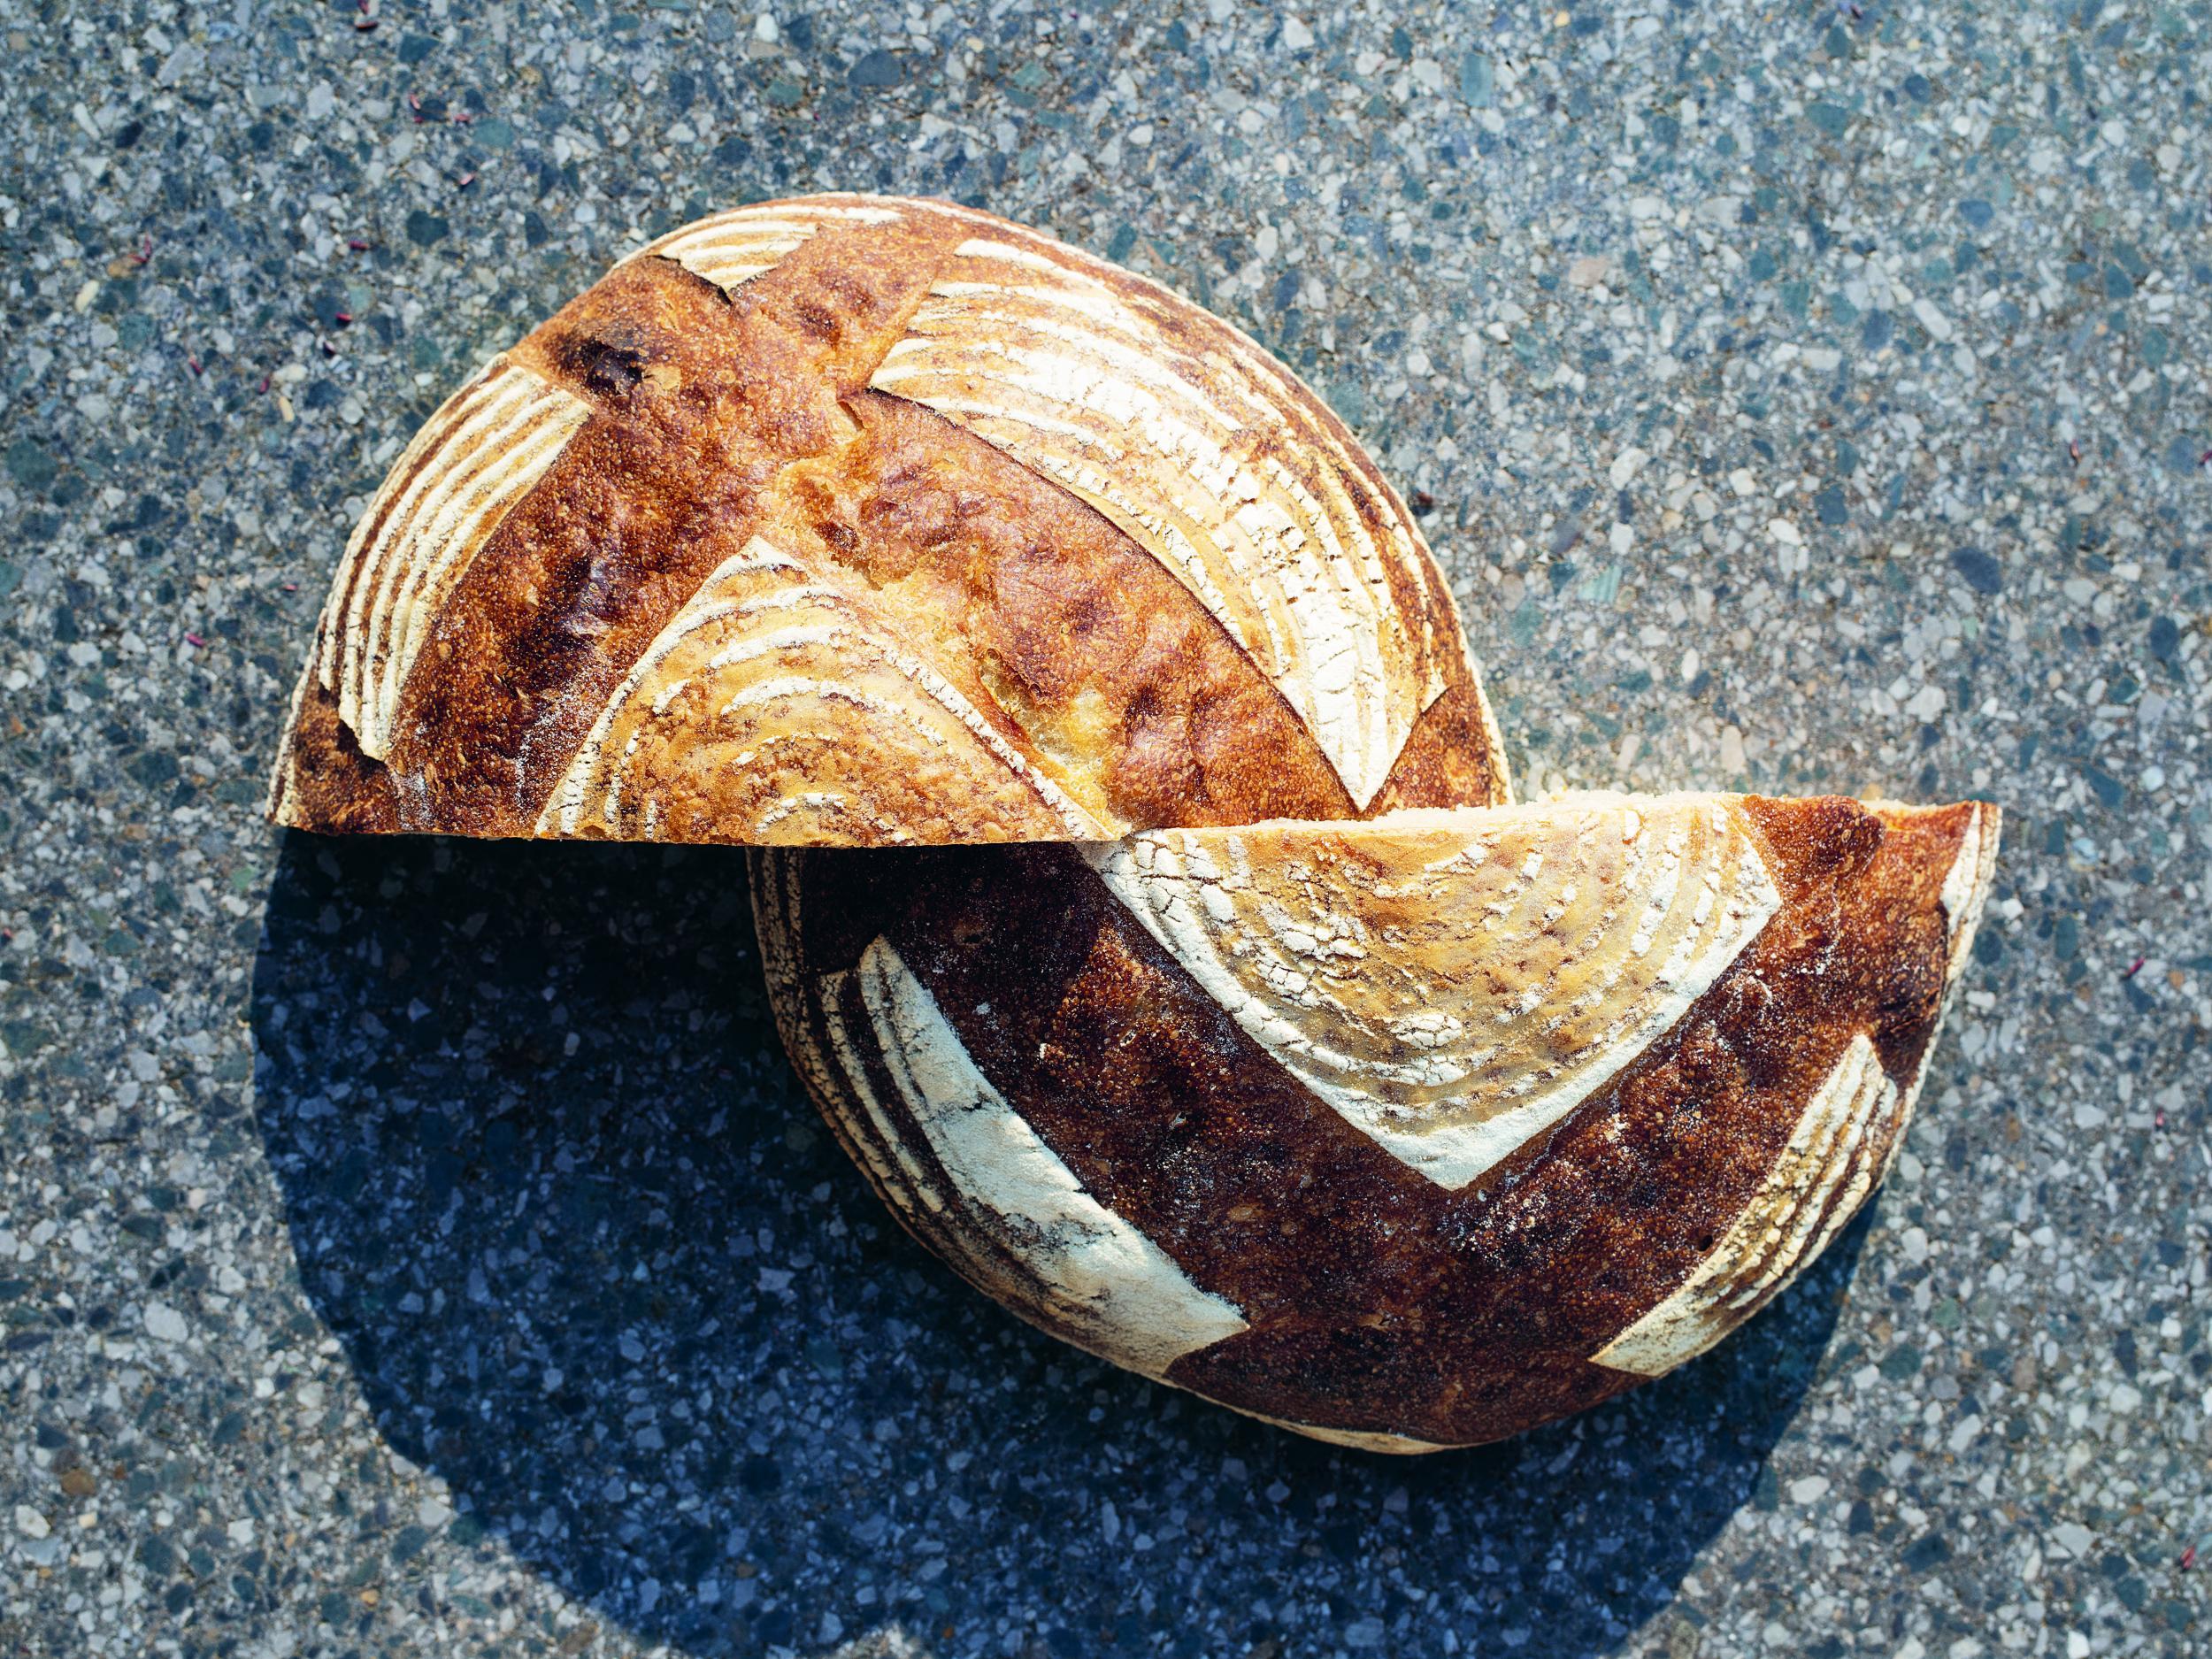
Dust a peel or tray with semolina and a little flour. Turn out your loaf and give it a score – I like a simple, single score if it’s a batard shape, or a square pattern if we’re talking about a boule. Slide your loaf onto your baking surface and add steam either by spraying the loaf and stone or putting a cast iron pan filled with water in the bottom of the oven and closing the door. If using a pot, just put the lid on.
Bake for 20 minutes and then vent the oven by opening the door, or remove the lid from your pot. Keep baking for another 20-30 minutes; I wouldn’t take the crust too dark. Just enough. Once done, leave to cool for at least 30 minutes before touching.
Extracted from ‘Super Sourdough’ by James Morton (Quadrille). Photography: Andy Sewell
Subscribe to Independent Premium to bookmark this article
Want to bookmark your favourite articles and stories to read or reference later? Start your Independent Premium subscription today.
Join our commenting forum
Join thought-provoking conversations, follow other Independent readers and see their replies